


How to Install Underfloor Heating on a Concrete Floor: A Complete Guide
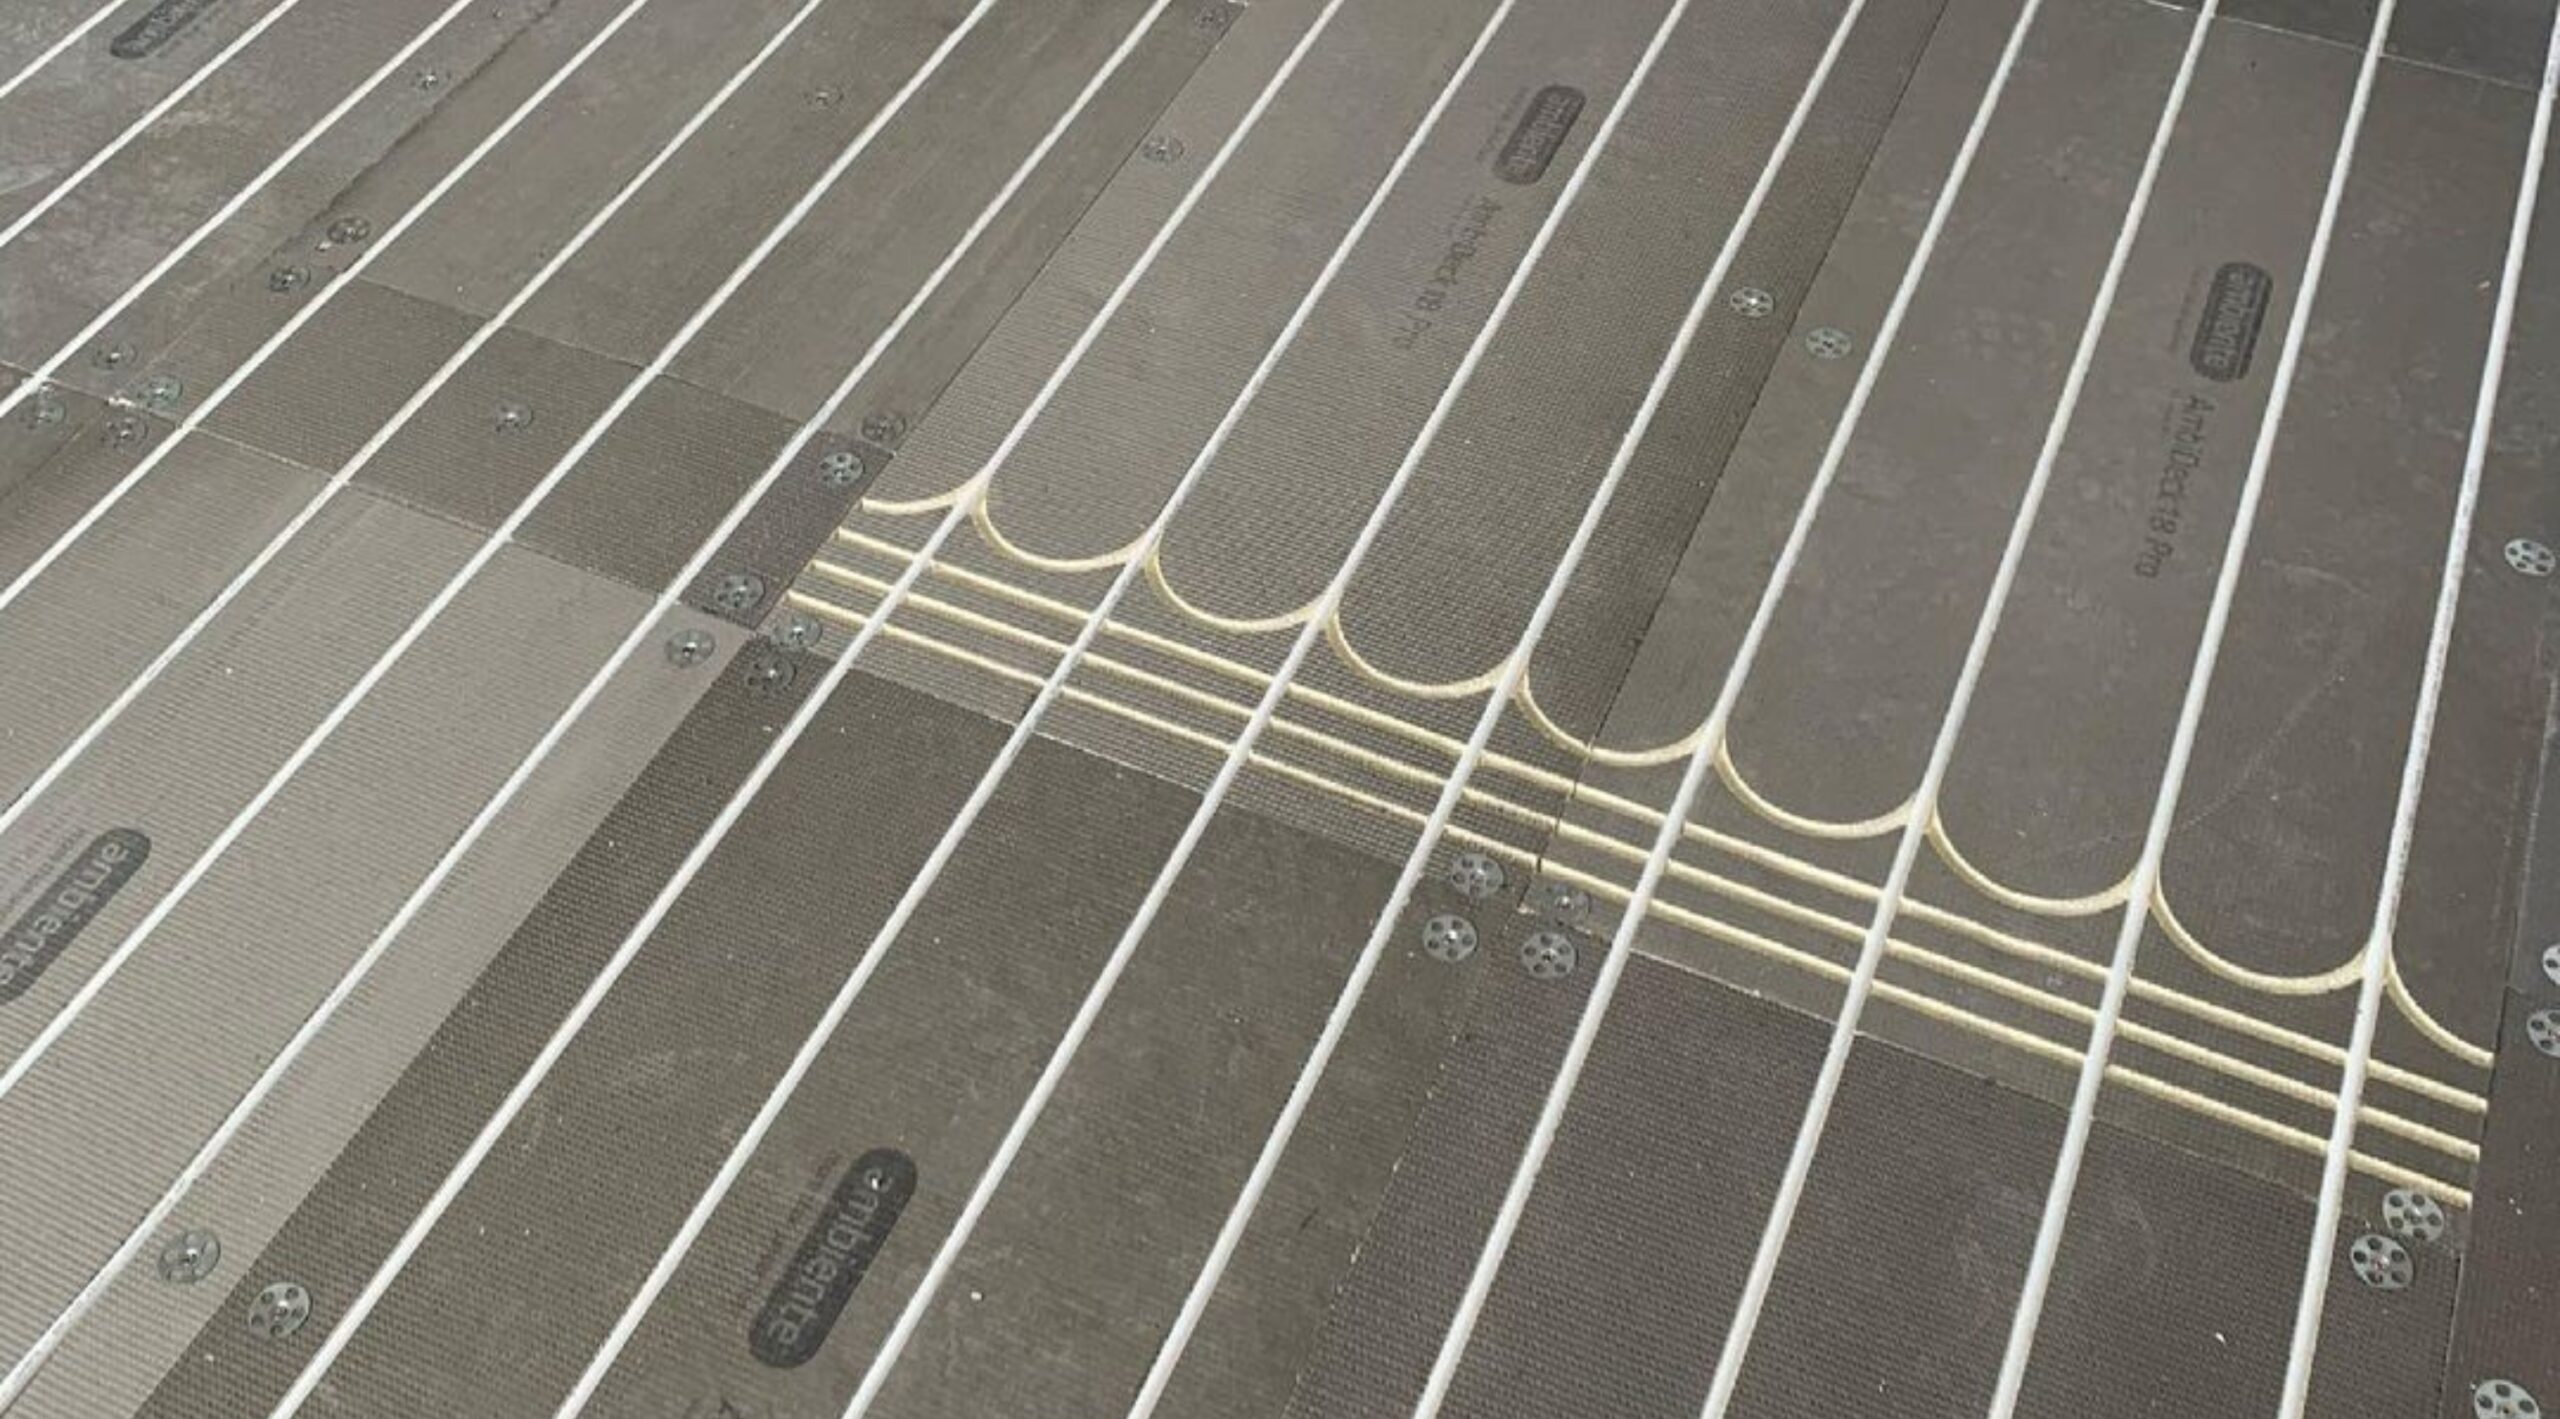
The system we use for this guide is the AmbiDeck® 18
For new constructions or renovations involving concrete floors, underfloor heating (UFH) stands out as a top choice due to its superior comfort and energy efficiency.
This guide is tailored for professionals engaged in installing underfloor heating on concrete surfaces. It will lead you through every phase, starting from pre-installation planning to system testing and beyond.
We’ll cover:
- Pre-Installation Mastery
- Gathering Materials and Tools
- Preparing the Concrete Floor
- Installing the Heating System
- Initial Heat up
- Maintenance and Troubleshooting
Pre-Installation Mastery: The Importance of a Solid Foundation
Assessing the Concrete Floor
The floor must be flat, if not the boards might move and crack between two high points if unsupported.The floor must also be free from moisture, if not then consider some sort of barrier to prevent the water from coming through to the next surface. It might be a liquid DPM.
– Please note it can’t be a DPM sheet or roll as this wont take the follow on adhesives.The subfloor must also be sound and not flaky and unstable. The follow on adhesives also wont adhere if the subfloor is live.
UFH Materials and Tools: The Building Blocks
Required Materials for Installation (All available on our website)
A design layout, UFH pipe, UFH Manifold, Manifold couplings, Manifold Ball valves, Pipe bends, AmbiDeck® 18 boards, CornerBoards & Highway boards. With tile adhesive, AmbiFibre Pro levelling compoundand Ambiente Universal primer.
Tools Needed for the Job
For the primer you will need a painter’s roller (wide head is recommended) and a wide roller tray.
You will need, a snap off knife, pipe cutters, Ambiente Ambiflex® Pipe Decoiler, manifold, Speed Spanner 30, drill and screws and plugs for fixing the manifold on the wall. Visit The Ambiente Spares Shop to get equiped
– For the adhesive and levelling compound you will need 2 buckets and a 4mm notch trowel and a normal plastering trowel and an electric paddle mixer.
Preparing the Concrete Floor: The Key to Lasting Warmth
Cleaning and Levelling the Surface
A clean, level surface is essential for the success of your installation. Use self-levelling compounds if needed, and ensure the surface is completely dry before proceeding.
Applying Ambiente Universal Primer
Using the high-quality Ambiente Universal Primer on the surface of the concrete to ensure that the following tile adhesive properly adheres to the subfloor.
Installing the Heating System: Guiding the Heat Beneath
Laying Out the AmbiDeck® 18 panels
Its recommended that you firstly fix your manifold on the wall in the position shown on your design. Then plan the route for each loop (2 pipes) to and from your manifold, some rooms will have more than 1 loop. Then use the highway and cornerboards to go from your manifold down the hallway to the entrance doors of the rooms.
+ Once in the rooms use standard AmbiDeck® 18 panels to fill the floor area.
+ As soon as the boards are cut into place and you have a clear plan of how pipes will transition between areas, you can start marking up where the board needs to be cut to receive a pipe cross over groove as it goes from one area to another.
+ Once done you can take boards up and relay this time with Flexible tile adhesive underneath to stick them down properly to the floor.
+ Take note to keep the adhesive consistent so the boards all end up the same thickness.
Connecting the Pipes to the Manifold
+ Lay the UFH pipe into the grooves one loop at a time – normally start with the first loop on the left hand side of the manifold.
+ Label each loop on the manifold tag provided.
+ Once all the loops are connected you are now ready to apply your AmbiFibre® Pro Self Levelling compound.
Installing the Self Levelling Compound
+ Firstly make sure the floor is free from dust and debris.
+ Once clean, you can start installing the self levelling compound layer.
+ This layer is typically 6mm thick and this equates to 9.3kg of product per m2.
+ Once this is done you are now ready to pressure test your system.
Pressure Testing the System
Before covering your heating system, it must be tested for leaks. Use air pressure and conduct a thorough examination of all connections and fittings. This step is crucial to preventing future issues.
Initial Heat up
Adjusting Controls and Settings
Its normally 21 days before the heat can be applied to a screed/levelling compound. From there you put water in that’s 5 degrees above the room temperature and then add 5 degrees each day until at the designed flow temperature. Then you must test the floors moisture readings until the floor is at the required moisture temperature required by the flooring suppliers.
Maintenance and Troubleshooting: Nurturing Your Investment
Regular Maintenance Tips
A well-maintained UFH system can last for decades. Regular inspections, cleaning, and checking controls ensure that you’re getting the most out of your investment. Follow the maintenance schedule provided by the system’s manufacturers. Labelling of the manifold loops is a common issue which is a difficult problem to resolve.
+ Did you find this guide helpful?
How To Bleed Underfloor Heating Guide
The Expert Guide To Floor And Air Temperature Sensors
+ Any questions about concrete UFH?
If you would like more guidance on underfloor heating. Get expert advice from our team at sales@ambiente.co.uk or by calling 01707 649 118.
Customers and contractors want the best for their homes and projects, and our underfloor heating and services will help installers stay ahead of competitors and be ready to seize the opportunity whenever it’s presented.
Ambiente is a supplier that proactively works with installers to provide support and guidance, from pipework specification to design and technical support.
Fill out our form today to start your journey as an Ambiente-affiliated UFH installer.
+ Not an Ambiente accreditied installer yet?
Benefit from a wide range of UFH systems and controls to suit every project, gain project leads from our extensive network of contacts and technical support from a highly knowledgeable expert team.