


How to Install Underfloor Heating With Tiles: A Complete Step-By-Step Guide
The main risk associated with tiles over underfloor heating is the potential for tiles to crack due to uneven thermal expansion. However, this risk can be mitigated with the correct materials and appropriate preparation. In this article, we will cover what to look for when selecting materials, and guide you through the necessary steps to safely prepare, install and use underfloor heating with tiles.
We’ll cover:
- Stage 1: Materials and pre-installation preparations
- Stage 2: Installing underfloor heating
- Stage 3: Installing tiles over underfloor heating
- Frequently Ask Questions
Stage 1: Materials and pre-installation preparations
+ Selecting the best underfloor heating for tiles
At Ambiente Systems Ltd, we supply a range of superior wet underfloor heating products compatible with tiles. To choose the right underfloor heating system, it is important to consider several factors such as space, sub-floor material, structural integrity and time. Here are our top recommended wet underfloor heating systems to use with tiles:
– AmbiSolo – Ideal for renovations, our thinnest underfloor heating product (16 mm) with an impressive output. For use with tiles, these self-adhesive panels must be laid directly on to a structural subfloor, and requires 2 mm of levelling compound before tiling, to ensure structural integrity.
– AmbiLowBoard – A grooved cement board system. Cement boards and lap joints give this underfloor heating high compressive strength and structural integrity, ideal for heavy tile or hardwood flooring, which can be laid directly on top.
– AmbiDeck 20 Pro – Consists of low-profile high-density XPS insulation panels (18 mm), a versatile option with exceptionally quick and easy installation. AmbiDeck 20 Pro is compatible with both concrete or structural timber bases, and tiles can be laid directly over the system.
+ Using the right adhesives for the best results with tiles
It is important to use a suitable adhesive when finishing with a tile flooring. Tiles are subject to uneven thermal expansion, leading to cracks. Using a flexible adhesive will allow movement and prevent tiles or grout from cracking.
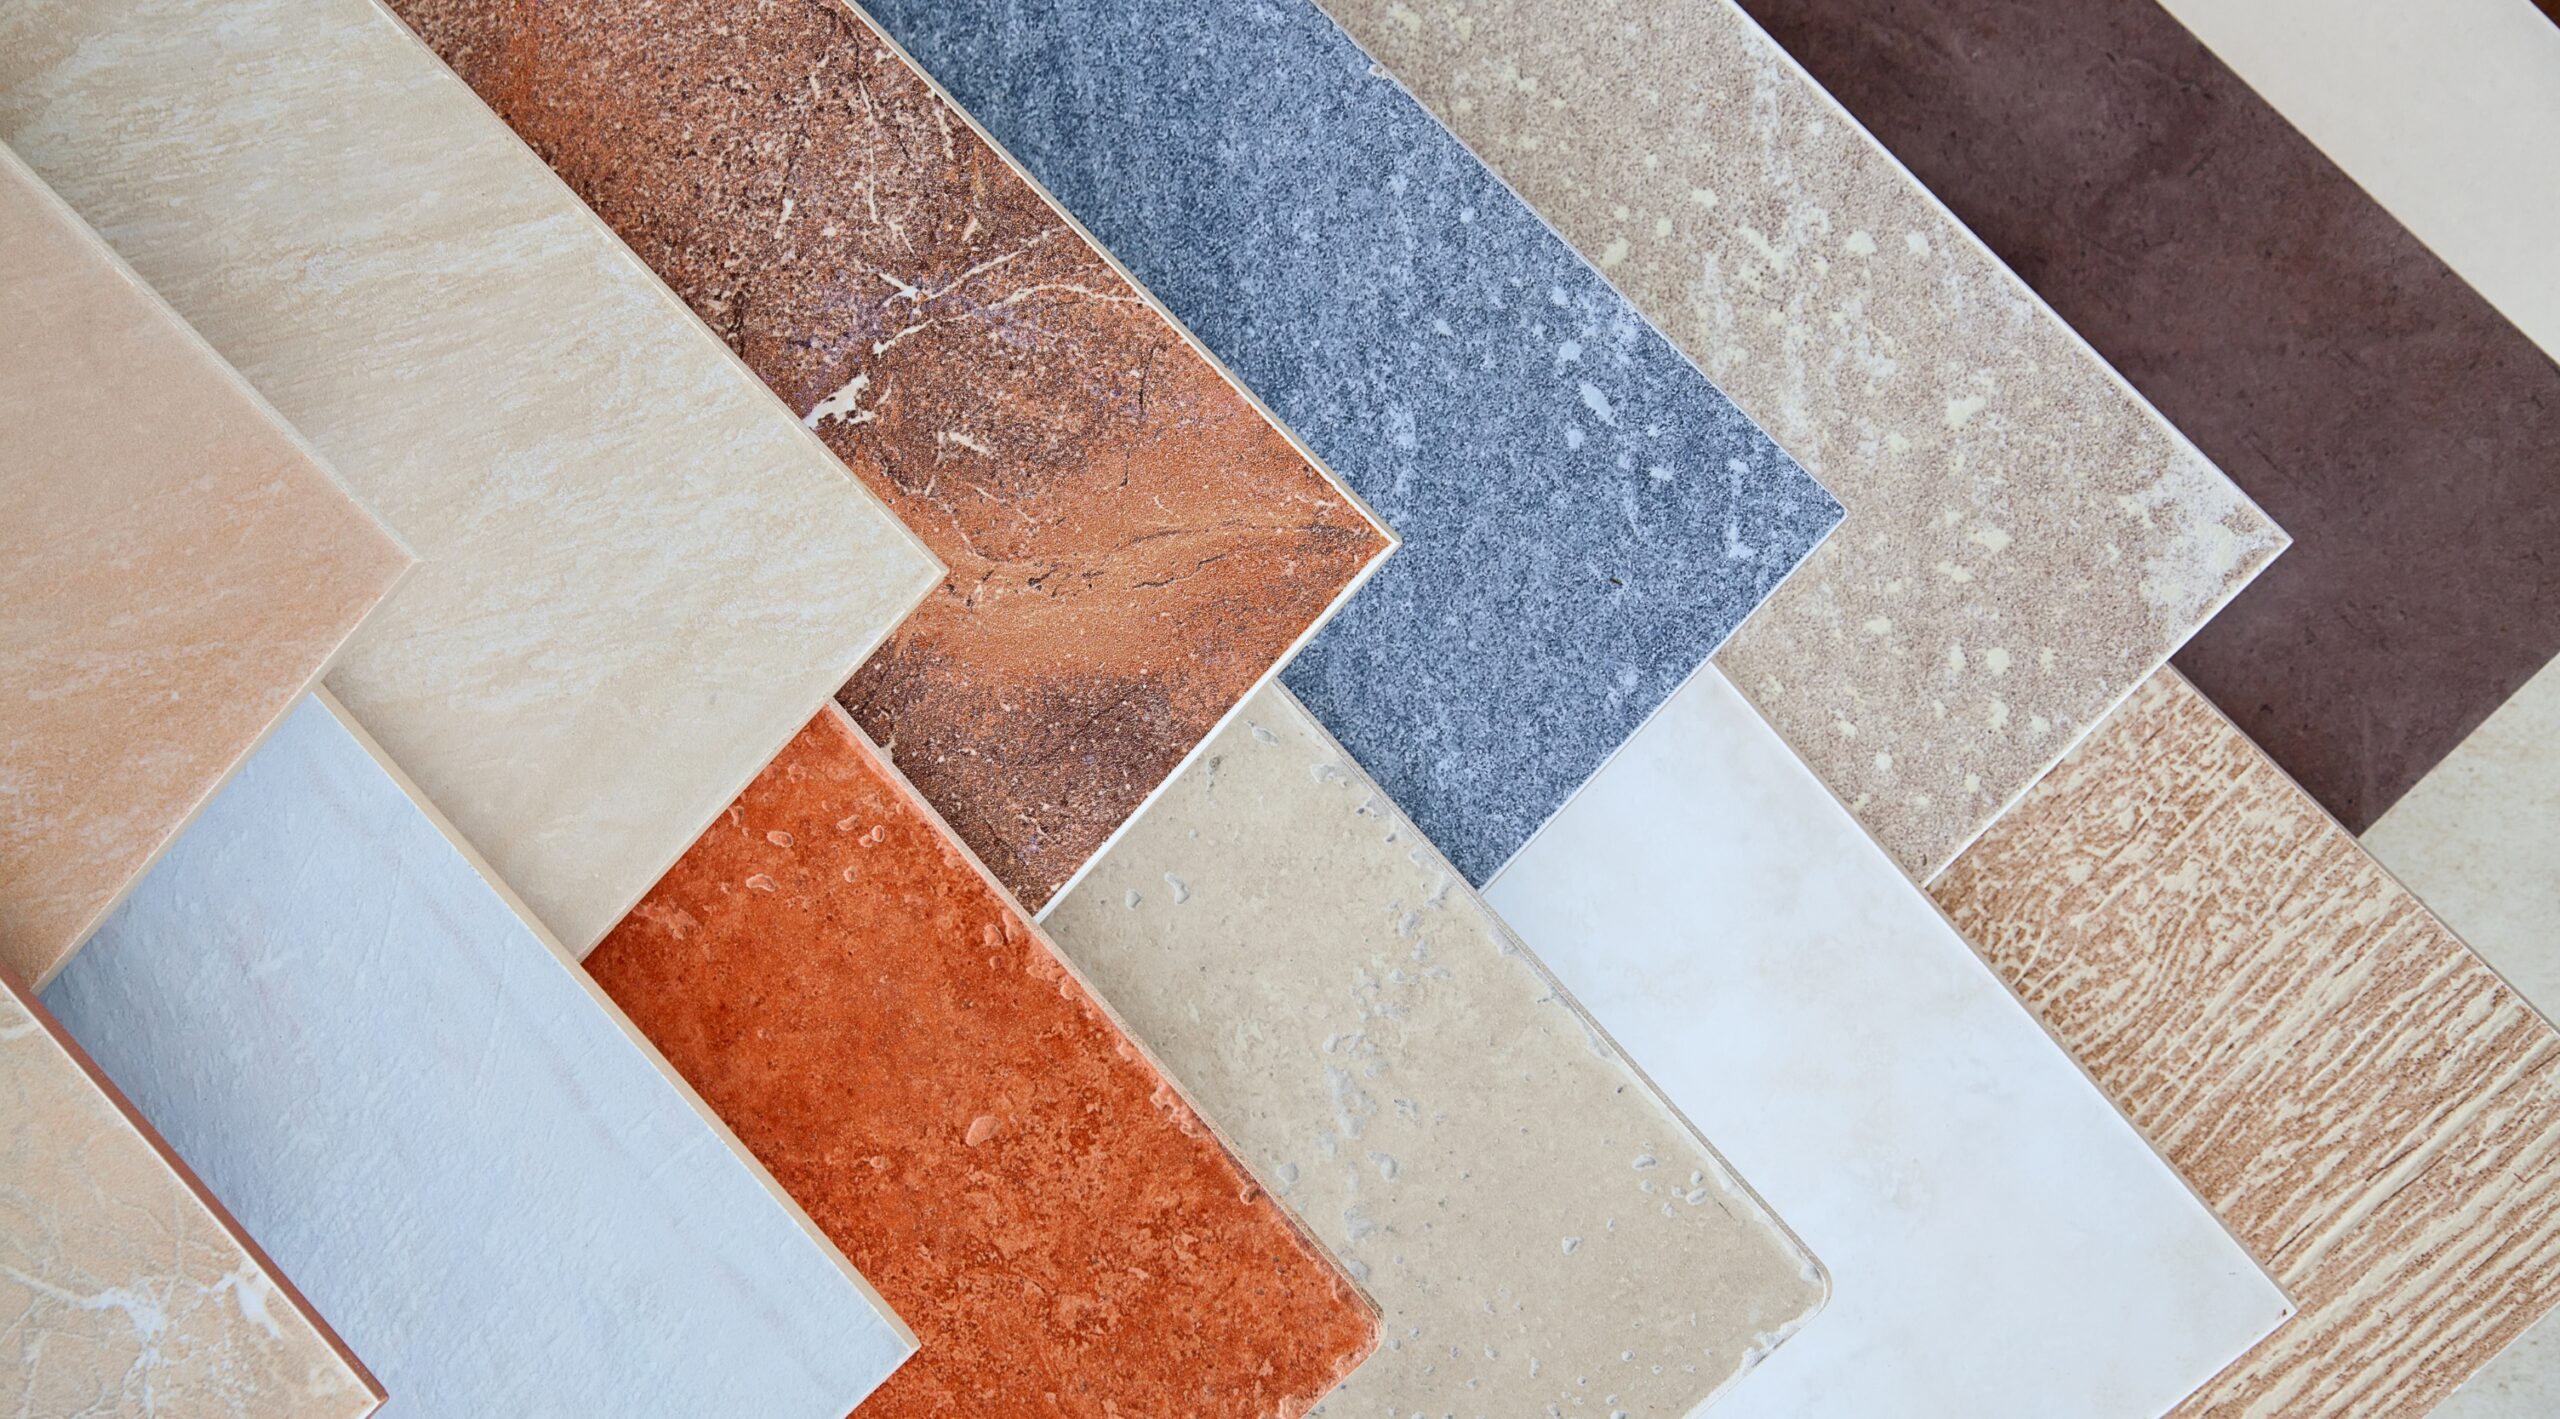
+ Choosing suitable tiles and grout for underfloor heating
When choosing tiles, there are a few factors to consider. For example, some materials are more conductive than others. Porcelain, ceramic and some natural stones, such as slate and marble, are excellent conductors of heat and therefore pair excellently with underfloor heating. While thicker tiles can take slightly longer to warm up, tile thickness does not impact the overall heat output of underfloor heating. Most tiles are compatible with underfloor heating, but always check with the manufacturers before ordering materials.
Similarly, it is important to select a suitable grout to use with underfloor heating. As with the adhesive, the grout will need to have flexible properties so that it can withstand movement from thermal expansion and contraction.
+ Assess if the subfloor is suitable for underfloor heating
It is imperative that you check the specifications of your underfloor heating to ensure it is compatible with the subfloor substrate you are working with. All floors should be perfectly level, and concrete floors should be fully cured. An uneven floor can lead to poor heat distribution, cracking and imperfections in the tiling. If the subfloor is uneven, we recommend using AmbiFibre Pro, a flexible, reinforced levelling compound with excellent flowing capabilities and rapid setting. A levelling compound, such as AmbiFibre Pro, will also provide extra insulation and reduce downward heat loss.
Stage 2: Installing underfloor heating
Note: This is a general installation guide on best practices for underfloor heating with tiling. For product-specific details, see our resources page
+ Prepare the subfloor for installation
Whichever underfloor heating you install, it is crucial to start with a level surface. For the best adhesion, we recommend priming the subfloor surface with Ambiente Universal Primer. If necessary, prepare the subfloor with a levelling compound such as AmbiFibre Pro for a completely level finish.
Concrete floors must be fully cured, and structural timber must be secure. A properly calibrated hygrometer should be used to check that the subfloor is suitably dry in accordance with British Standards.
Before beginning installation, the subfloor surface must be completely clear, clean, and free from any contaminants, including paint, varnish, polish, adhesive residues, and plaster spots. It is critical that the subfloor is appropriately prepared, as any imperfections or undulations in the subfloor can carry through to the tiling, resulting in cracks.
+ Apply adhesive and underfloor heating panels
Flexible tile adhesives are designed to maintain a strong bond at high temperatures, withstanding the effects of thermal expansion and contraction. This flexibility helps prevent cracks or fractures from occurring in tiled flooring. On concrete floors, we recommend applying an even, combed layer of flexible tiling adhesive, such as AmbiBond. Firmly press down the underfloor heating panels while the adhesive is wet, ensuring good overall contact. Cement boards, such as AmbiLowBoard, can be held in place with heavy objects during the curing time. Allow 24-48 hours for the adhesive to fully cure before carrying out further work.
Some products, such as our AmbiSolo boards, are self-adhesive and can be directly laid onto a concrete subfloor, providing it is cured, clean and level. For best results, always use a primer first.
On structural timber floors, our AmbiDeck panels can be directly laid down and fixed in place with our AmbiDeck washers without adhesive.
+ Apply the pipework and fully test the underfloor heating
Following the supplied underfloor heating designs, fit the pipework into the pre-grooved panels. Carry out the necessary tests and checks, such as filling and flushing the system and pressure tests. Before tiling, the underfloor heating must be fully commissioned and tested to ensure there are no leaks. Always refer to the supplied design and manufacturer’s instructions when installing the underfloor heating system.
Stage 3: Installing tiles over underfloor heating
+ Prepare the surface for tiling
To prepare the underfloor heating panels for tiling, first clean them, removing any dust or debris. Primer will reduce porosity, increasing the workability and efficacy of adhesives. Allow the primer to cure before applying adhesives. Fill gaps (such as cavities without pipework) with AmbiBond using a smooth-edged trowel for a flawlessly smooth surface.
In most cases we recommend using a tile decoupling membraine between the underfloor heating and the tiles – such as the deitra matting or similar.
Before and during tiling, ensure the temperature of the underfloor heating is no higher than 15°C. Any higher than this will force dry adhesives and grout, leading to cracks and lifting.
+ Lay tiles using a flexible adhesive
Once the primer is fully cured and all cavities are filled, the tiles can be laid using our flexible adhesive, AmbiBond. Plan your starting point so you can still enter and exit the room without stepping on any tiles until the adhesive is set. Working back from your starting point, use a notched trowel to apply the AmbiBond adhesive at the required bed thickness and lay the tiles.
+ Grouting
As with the adhesives, it is important to use a flexible grout to allow for movement from thermal expansion and contraction. This is essential to prevent the cracking of grout and tiles over underfloor heating. Always prepare grout in accordance with the provided instructions. Once the grouting is complete, the temperature should remain the same for at least 7 days to allow the grout to set fully without force drying.
For the initial heat-up, increase the temperature no more than 5°C per day, this will allow the materials to acclimatise until the desired working temperature is reached.
Frequently Ask Questions
– Can underfloor heating crack tiles?
Most tiles have excellent thermal properties making them an ideal pairing for underfloor heating; however always check with the manufacturer that the desired tile is compatible with underfloor heating. Tiles are subject to uneven thermal expansion, leading to cracks or lifting. This can be largely mitigated by using flexible adhesives and grouting which allow for thermal expansion and contraction. Finally, proper preparation of the subfloor and heating panels to ensure a perfectly clean and flat surface will further eliminate any unnecessary stress that could lead to cracked tiles.
– How long should you wait before turning on underfloor heating after tiling?
Tiling usually requires a minimum of 7 days to fully dry, however always check the exact product specifications with the tile and grout manufacturers. Turning the heating on before the tiling has completely dried, or heating the floor too rapidly on the initial heat up can result in cracks and lifting.
– Can you carpet over tiles with underfloor heating?
It is possible to lay carpet over tiles, however its worth being aware that each layer you add ontop of the underfloor heating it restricts the thermal performance of the underfloor heating output. Where there are multiple layers which builds up to create thermal mass in the floor. The greater the thermal mass, the longer the heat up time and cool down time.